CLAROVUE
CLAROVUE Integrated 4K Dash Cam for Ford F150/F250/F350 RAPTOR (Model A 2018-2025) Front and Rear
CLAROVUE Integrated 4K Dash Cam for Ford F150/F250/F350 RAPTOR (Model A 2018-2025) Front and Rear
Couldn't load pickup availability
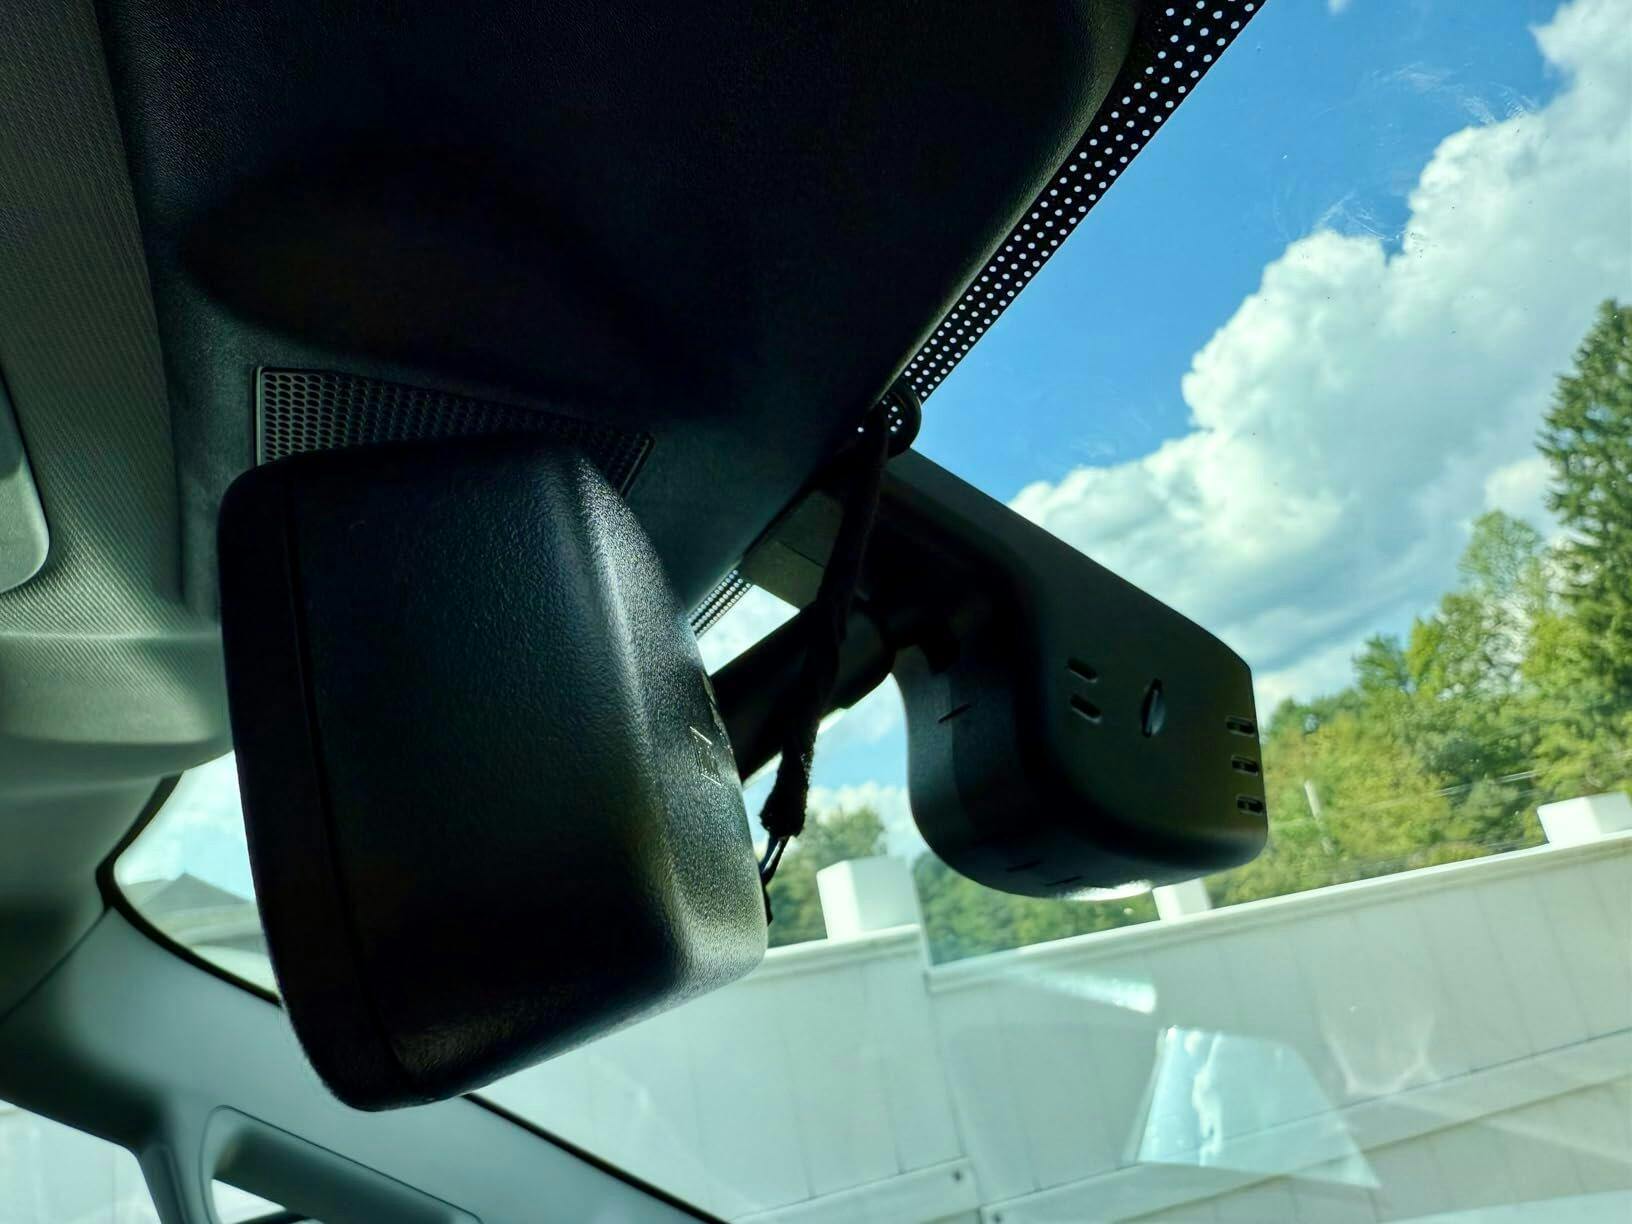
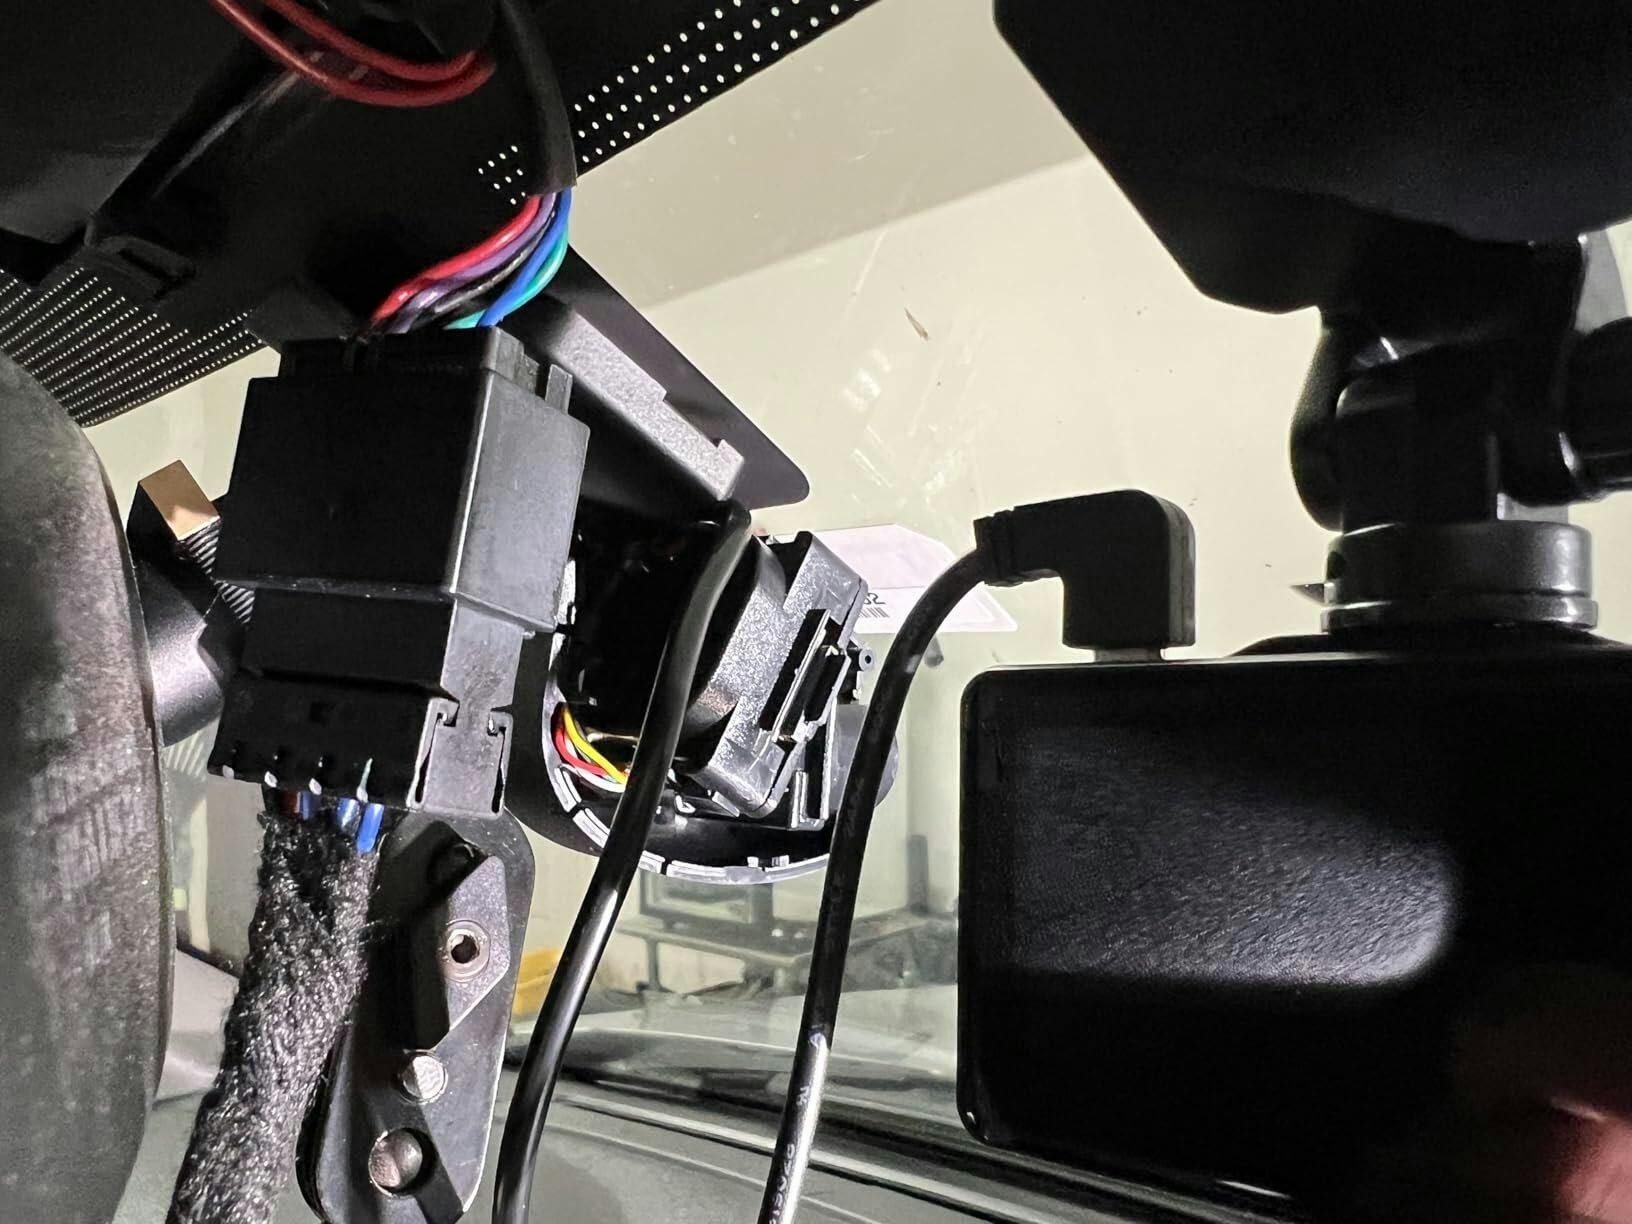
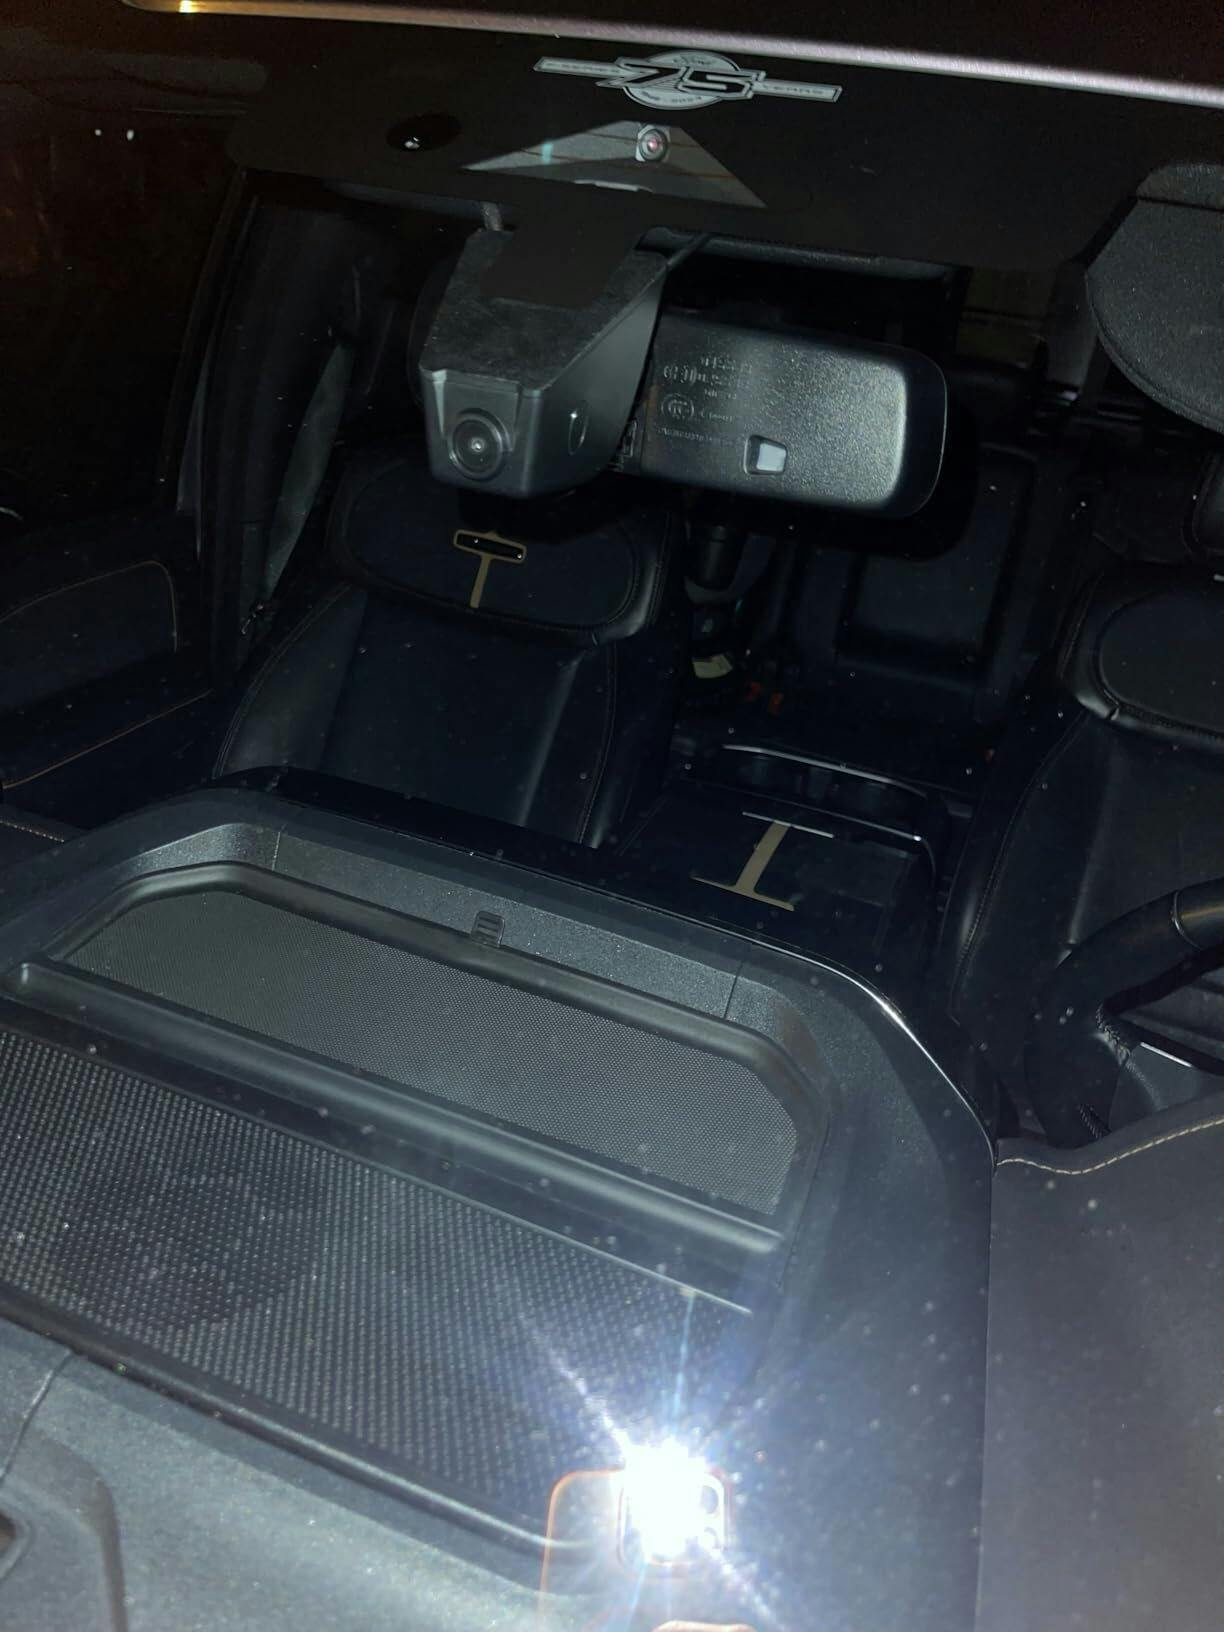
•Is this for my car? Please note this specific installation is not for all vehicles. To confirm compatibility, please check the third picture and ensure your setup matches these two points:
• A plug behind the rearview mirror.
• A screw on the mirror bracket.
SHIPPING INFORMATION
SHIPPING INFORMATION
The time frame of order delivery is divided into two parts:
- Processing time: 1-3 days. After purchase, we will send you an email to confirm your car model and the cover of the rearview mirror, and ship the product within 3 days after confirmation. We recommend you to confirm before purchase.
- Standard Shipping time: 7-12 days. Once your order has shipped, you will receive a shipment notification email containing tracking information as well as a link to track your package online.
Noted: Since our products are custom dash cam, a photo of the rear mirror cover is necessary and we will check and send you the correct model. If no photo is provided, we will ship your order and may delay shipping or send the model not fit your car.
FAQS
FAQS
1.CLAROVUE dash cams are only compatible with specific vehicle model, the wrong model can't fit.It doesn't support to add a rear camera separately if you've already had the single front camera! Because the PCB boards are different.
2.The camera's WiFi is not remote. Please download important clips to your phone while in the car and engine is on if needed.
3.Why is the preview screen of the camera not clear when viewed through the APP?
The image quality of the APP preview interface is specially compressed for smooth APP experience. Click on the APP "Camera File" to view the original AHD quality video.
4.Featured with sound recording function, which can be turned on/off at CLAROVUE APP setting.
5.CLAROVUE OEM style dash cam does not have physical buttons for traditional camera settings. How to set camera related functions?
The setting function CLAROVUE of traditional cameras is available. We implement it through APP setting. We have prepared detailed operating instructions and the operation is simple.
6.Packed with 64 -128GB MicroSD card and support maximum256GB.
If you have forgotten the device’s connection password, please follow the steps below to reset it:
✅ Reset Steps:
1.Restore Factory Settings:
Press and hold the “PHOTO” button for 15 seconds. The device will reset to factory settings and restart.
2.Clear Old Wi-Fi Connection:
Make sure the Wi-Fi is on (blue light blinking once per second). On your phone, go to Wi-Fi settings, find the dashcam’s network, and select “Forget this Network” (or “Remove Network”/“Disconnect”).
3.Force Restart the Device:
Press and hold the power button for 5 seconds to turn off the device, then press it again to turn it back on.
4.Reconnect to Wi-Fi:
On your phone, search for the dashcam’s Wi-Fi network again and enter the default password: 12345678.
Locked videos are recordings of important events.
To prevent accidental deletion:
1.They cannot be manually deleted in the CLAROVUE app.
2.They will not be overwritten during loop recording.
3.The only way to clear locked files is to format the memory card.
⚠️ Formatting will erase all data on the card. Please make sure you no longer need the files before proceeding.
You can format the memory card using either method:
Method 1: Via Mobile App
1.Connect your phone to the dash cam’s Wi-Fi
2.Open the CLAROVUE app
3.Go to Camera Settings > Format > Confirm
Method 2: Via Computer
Remove the memory card and insert it into a card reader connected to your computer
Format the card (recommended format: FAT32 or exFAT)
⚠️ Formatting will erase all data on the card. Please back up important files before proceeding.
If the rear camera image appears upside down after installation,
please remove the camera and reinstall it correctly with the arrow pointing upward.
If you have any questions, feel free to contact our customer service. We will guide you through the installation.
If the real-time view does not show the rear camera, please check the following:
1.Make sure the rear camera indicator light is solid blue;
if no indicator light, unplug and reconnect the power connector to ensure a proper connection.
2.On the live view screen, tap the front/rear toggle button at the top left corner to switch between front and rear camera views.
💡 Tip: Recorded videos in Camera files contain synchronized footage from both front and rear cameras.
What to do if GPS fails to locate? Troubleshooting GPS issues:
1️⃣ Check the GPS interface in the app
When GPS is successful, signal bars appear on the main page. If none, please check that the GPS cable pins are fully inserted and properly connected.
2️⃣ Check GPS installation position
Make sure the GPS module is connected correctly with the “GPS” label facing up. Place it in an open area of the vehicle (e.g., dashboard) and avoid enclosed compartments.
3️⃣ Wait for signal lock
Park the vehicle in an open area for at least 2 minutes. You can place the GPS module outside the window briefly to speed up locking, then put it back inside.
4️⃣ Reset the dash cam if needed
If GPS still doesn’t work, press and hold the PHOTO button for 15 seconds to restart the device. The red light will flash, then turn blue indicating a successful reset. It’s recommended to restart your phone before reconnecting.
The OBD port is usually located below the steering wheel.
Align the three pins of the adapter with the OBD port inside, and press firmly to install securely.
The CLAROVUE fuse box power adapter has three wires:
1.Black Wire (GND/B -): Connects to vehicle chassis ground
2.Red Wire (ACC): Powered when ignition is ON
3.Yellow Wire (VCC/B +): Constant power supply
This adapter supports parking monitor function.
It comes with 5 sets of cables to fit various vehicle models; the SM connector links to the dash cam.
Installation can be complex; professional installation is recommended.
CLAROVUE offers two parking monitor modes, both disabled by default and need manual activation (see pages 36-40 in the manual):
A. Impact-Triggered Parking Mode
When parked, if your vehicle experiences impact vibration, the dash cam automatically records for 1 minute, locks the video to prevent overwrite, then powers off.
B. Time-Delayed Parking Mode
After ignition off, the dash cam’s green light changes from blinking once per second to once every two seconds, indicating “Delayed Recording” is active.
Videos are saved in the “Parking” folder. Recording duration can be set to 12/24/48 hours. Note: ignition-off duration varies by vehicle and can last up to 10 minutes.
C. Will it drain the car battery?
CLAROVUE uses advanced power protection. When battery voltage drops below 11.6V, the dash cam enters sleep mode with minimal power consumption. Please ensure sufficient battery voltage before next engine start.
Power consumption reference for delayed recording:
E970DPF single-channel: 105mA~120mA
E970SPF dual-channel: 205mA~245mA
If the dash cam’s blue or red light stays on, you can reset the device using either of the following methods (see page 47 of the manual):
Method A: Use the RESET button
While the dash cam is powered on, use a paperclip or pin to press the “RESET” button located at the bottom once. The cam will restart automatically.
Method B: Long press the PHOTO button
Press and hold the “PHOTO” button for about 15 seconds until the dash cam restarts.
After a successful reset, the dash cam will beep indicating it has started recording.
If the dash cam keeps restarting, please follow these steps:
1️⃣ Format the memory card
Format the memory card via the app. If the app cannot connect, remove the card and format it on a computer using a card reader.
Locked videos and photos are not overwritten during loop recording, causing the card to fill up over time. We recommend formatting every 2-3 months.
2️⃣ Check for memory card issues
If the problem persists after formatting, power off by holding the power button, remove the memory card, then power on again.
If the device works normally without the card but restarts repeatedly with the card inserted, the card may be faulty. Please contact CLAROVUE technical support for a replacement.
Here are some common issues you can address, along with the setup process.
1. Make sure the dashcam is turned on. The blue LED indicator should flash once per second.
2. Connect to the correct Wi-Fi network. The camera's initial Wi-Fi name may be:
WiFi_DVR_X970xx_xxxx (X:A-Z, x:0-9)
WiFi_GPS_X970xx_xxxx (X:A-Z, x:0-9)
WiFi_E970XXXX (X:A-Z)
Default password: 12345678
Here's a video demonstrating how to use the app; we hope it helps: https://www.youtube.com/watch?v=C1zLEeJpngo
3. Make sure the app is updated to the latest version.
Android: v1.0.47.250110
iOS: v1.2.2 (as of March 1, 2025; please update if a new version is available).
Check your version in the app: Tap "More" → "About." If it's not the latest version, please update or uninstall and reinstall the app.
4. If your iPhone is running iOS 18.0/18.1/18.2/18.3 or later, please uninstall the app and redownload it.
While downloading the app, please tap "Allow" on all the options that pop up to prevent your phone from blocking the camera's Wi-Fi. Make sure to enable the app's "Local Network" permission: Go to "Settings" on your iPhone, then "Apps" at the bottom, tap "SkyCamm," and turn on "Local Network." Then restart your phone and try again.
5. Interference with CarPlay and Android Auto. Since all phones have only one Wi-Fi connection signal channel, they can't connect to both CarPlay/Android Auto and the camera's Wi-Fi simultaneously. When your phone is connected to CarPlay, the camera's Wi-Fi will automatically disconnect. This is normal.
6. A VPN or security app may be blocking Wi-Fi access.
7. Try setting your phone to airplane mode and try again.
8. Perform a factory reset (if the issue persists):
• Press and hold the camera button for 15 seconds until restart
• Use toothpick to press reset button
9. Troubleshooting memory card issues:
• Remove memory card and try connecting
• If works, format the card
There are two ways to take photos, please follow these steps:
1️⃣ Use the dash cam’s photo button
Quickly press and release the photo button on the dash cam. You should hear a "click" sound indicating success.
(Note: Press and release immediately; holding too long may cause failure.)
2️⃣ Take photos via the app
Connect to the dash cam Wi-Fi, open the app, and tap the photo icon. You will see "Capture Successful" on screen.
Photos are saved in the "Camera File" folder.
3️⃣ If photos still don’t save
This may be due to storage issues. Press and hold the dash cam’s photo button for 15 seconds to reset, then format the memory card via the app settings and try again.
Videos recorded by CLAROVUE front cameras are in TS (Transport Stream) format, which may not be compatible with some players.
Recommended players for front camera videos:
• Windows: PotPlayer
• Mac: Just (video) play, KMPlayer, or VLC Media Player
Please install and use these players to view your videos.
Please follow the steps below to troubleshoot:
Method 1: Check the Y-Cable fuse
1.Locate the bulged section of the Y-Cable.
2.Peel back the outer tape to inspect the fuse inside.
3.If the fuse is blown, contact technical support.
Method 2: Try an alternative power supply
1.Use spare OBD adapter/power cable
2.If works with spare cable, original cable is faulty
3.If still not working, main unit may be defective
Solution:
• Contact CLAROVUE for cable replacement
• Main unit defects will get free replacement
Rest assured, your phone does not need to stay connected to the dashcam’s WiFi for normal recording to function properly.
1.Once powered on, automatic recording starts
2.Only connect temporarily when viewing/downloading
3.After use, "Forget this network" to prevent interference
3.This won’t affect CarPlay/Android Auto usage during normal driving
Here are the steps to disable the voice prompts:
1.Connect to the dashcam and go to the settings menu.
2.Find the “Speaker” option.
3.Turn off the “Speaker” to disable voice prompts (such as the “Start recording” prompt).
4.To enable voice prompts again, simply turn the “Speaker” back on.


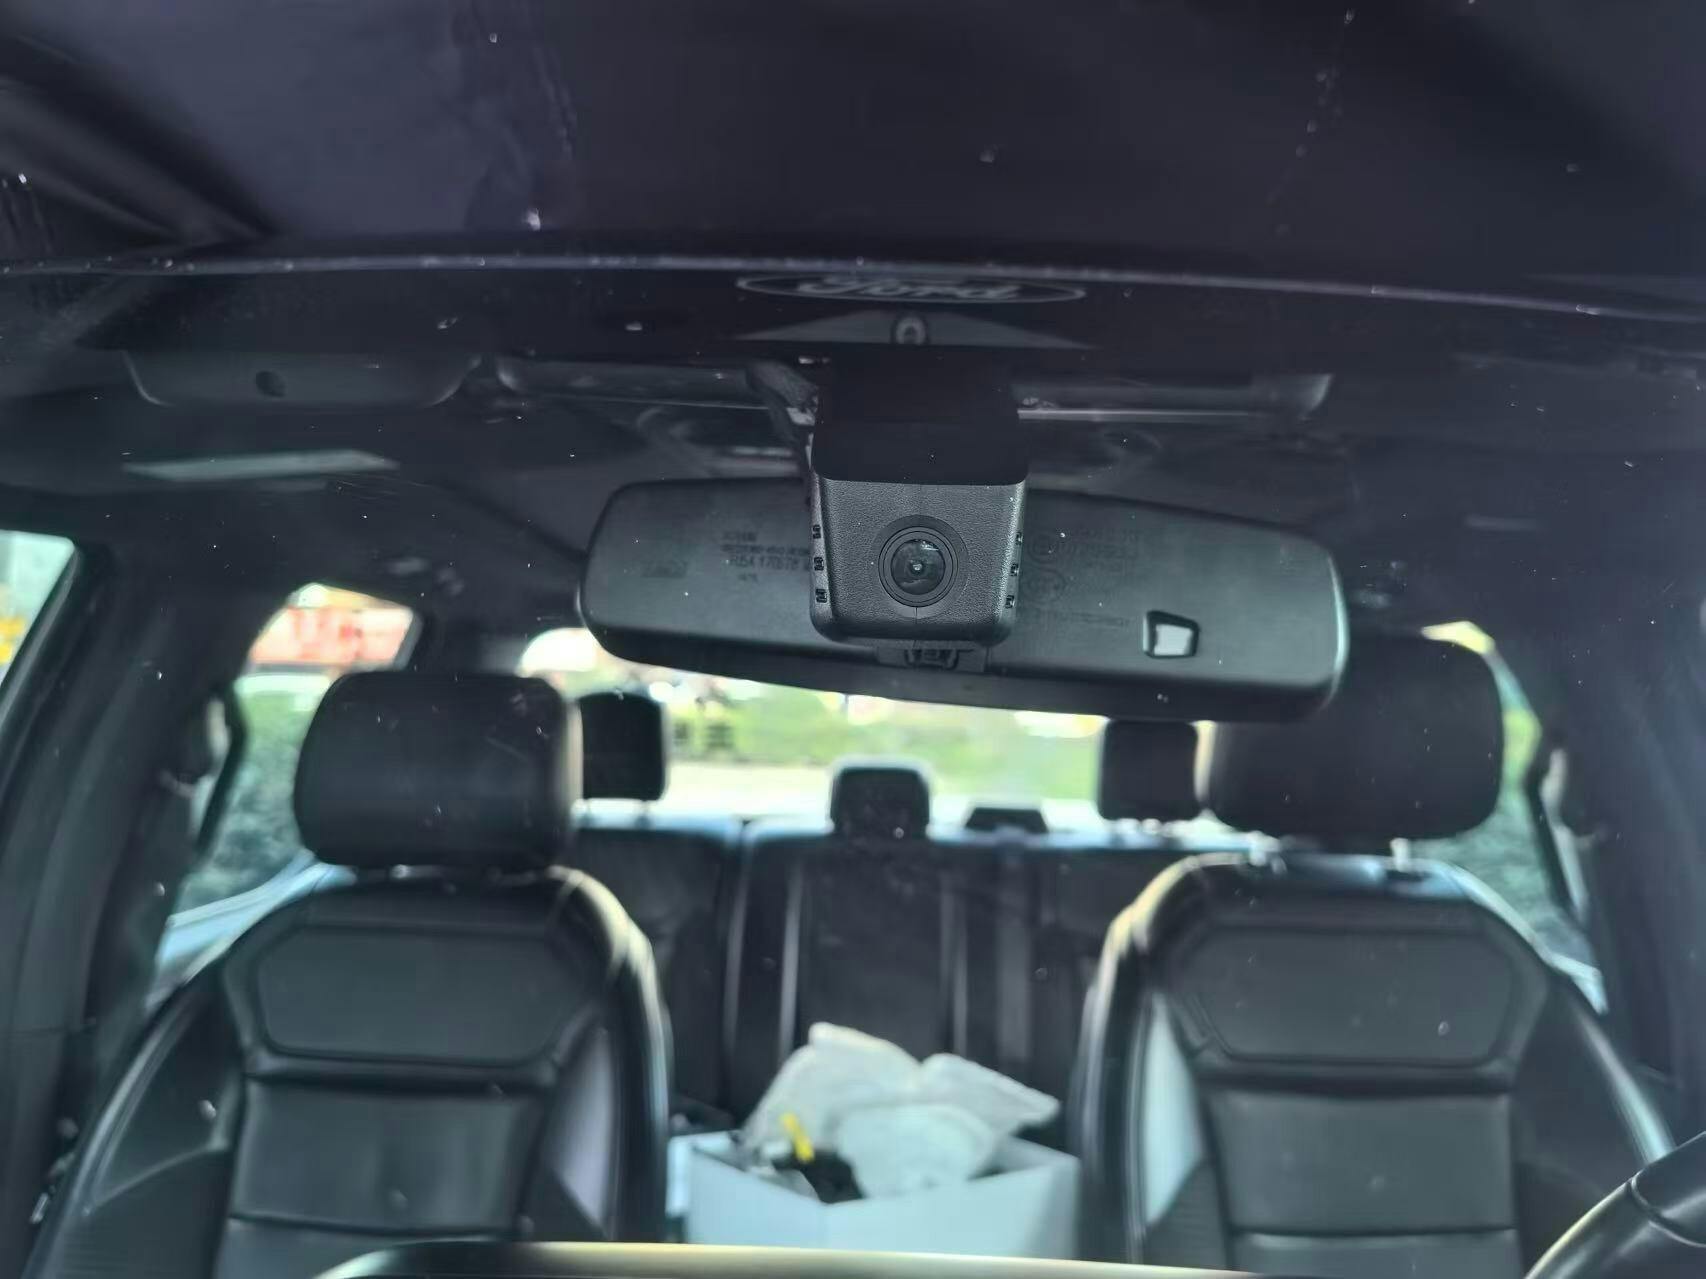
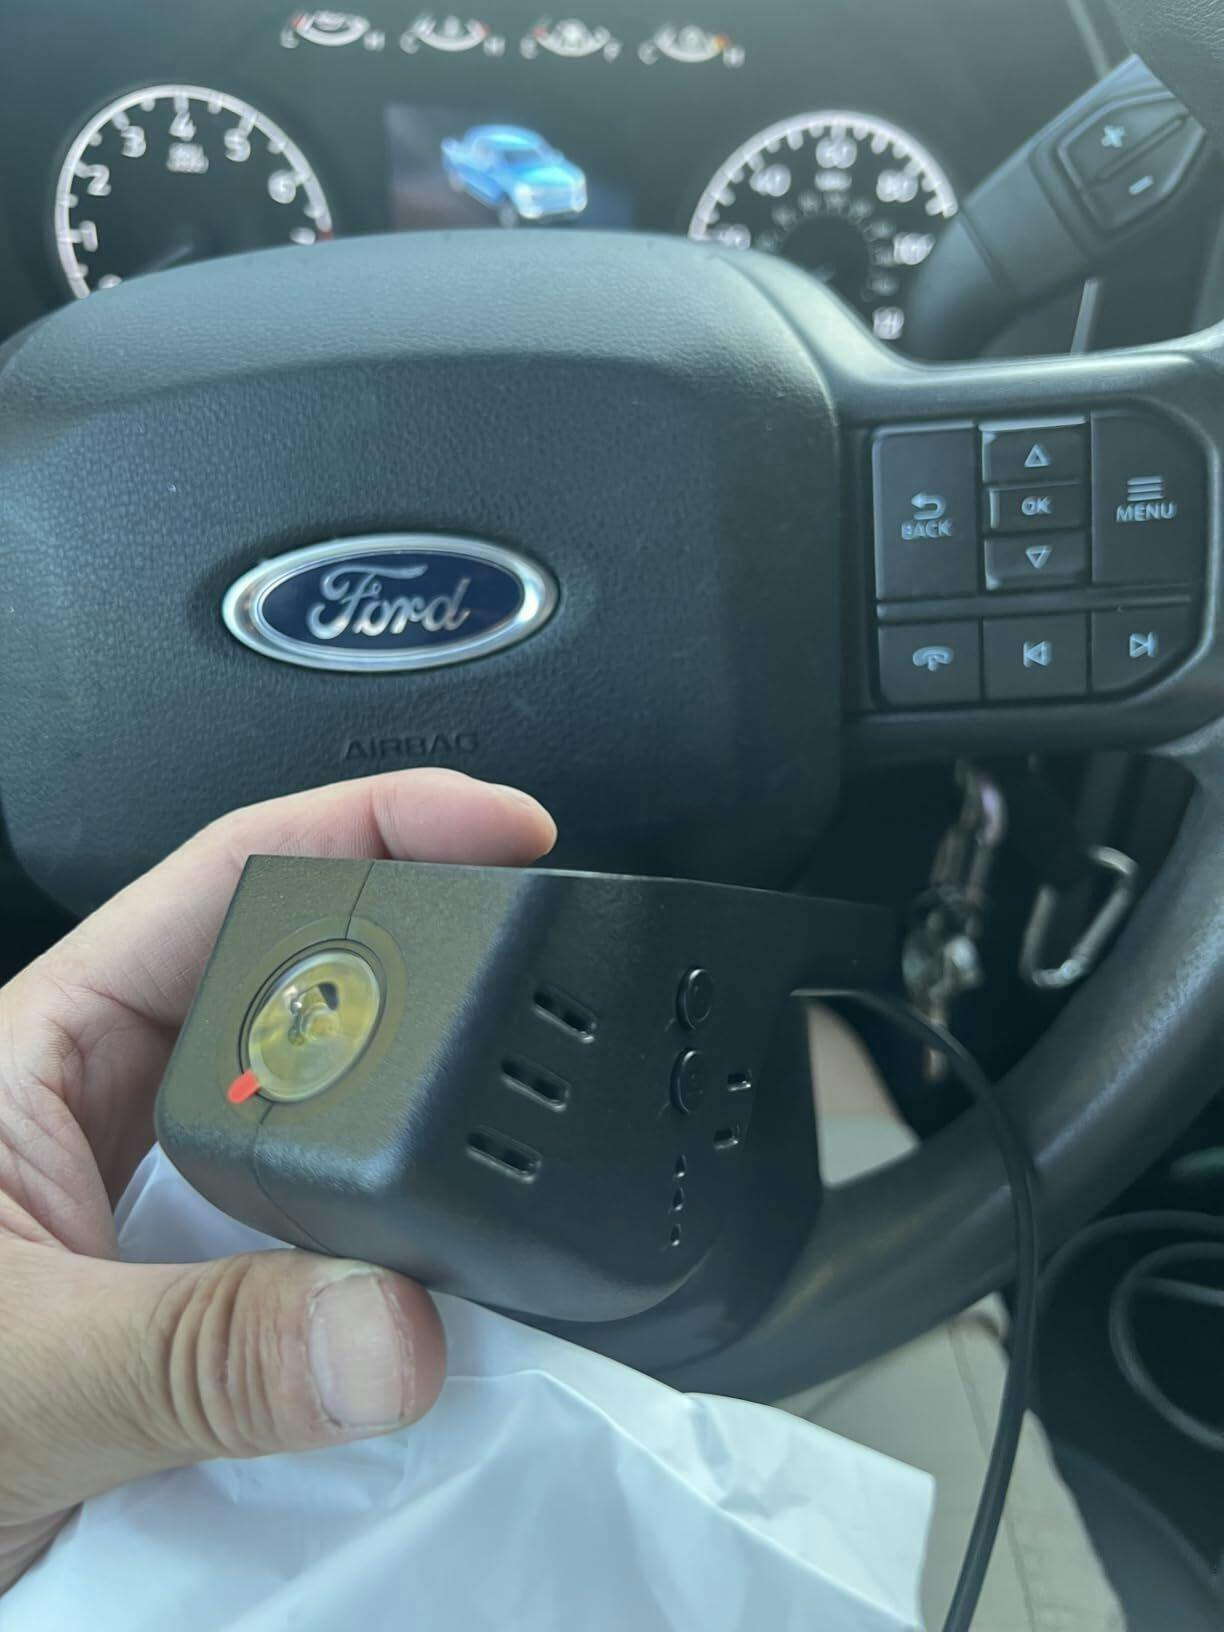
Beautiful - Factory-looking install. It looks like it came with your truck, not an ugly afterthought
Simple - Plug-and-Play in Minutes. No complex wiring. DIY-friendly, no need for a mechanic
Safe - Completely Hidden Behind Mirror. Zero blind spots, ensuring a crystal-clear view of the road ahead.
Stable - Custom-fit Bracket. It never shakes or falls off, even on the toughest off-road adventures
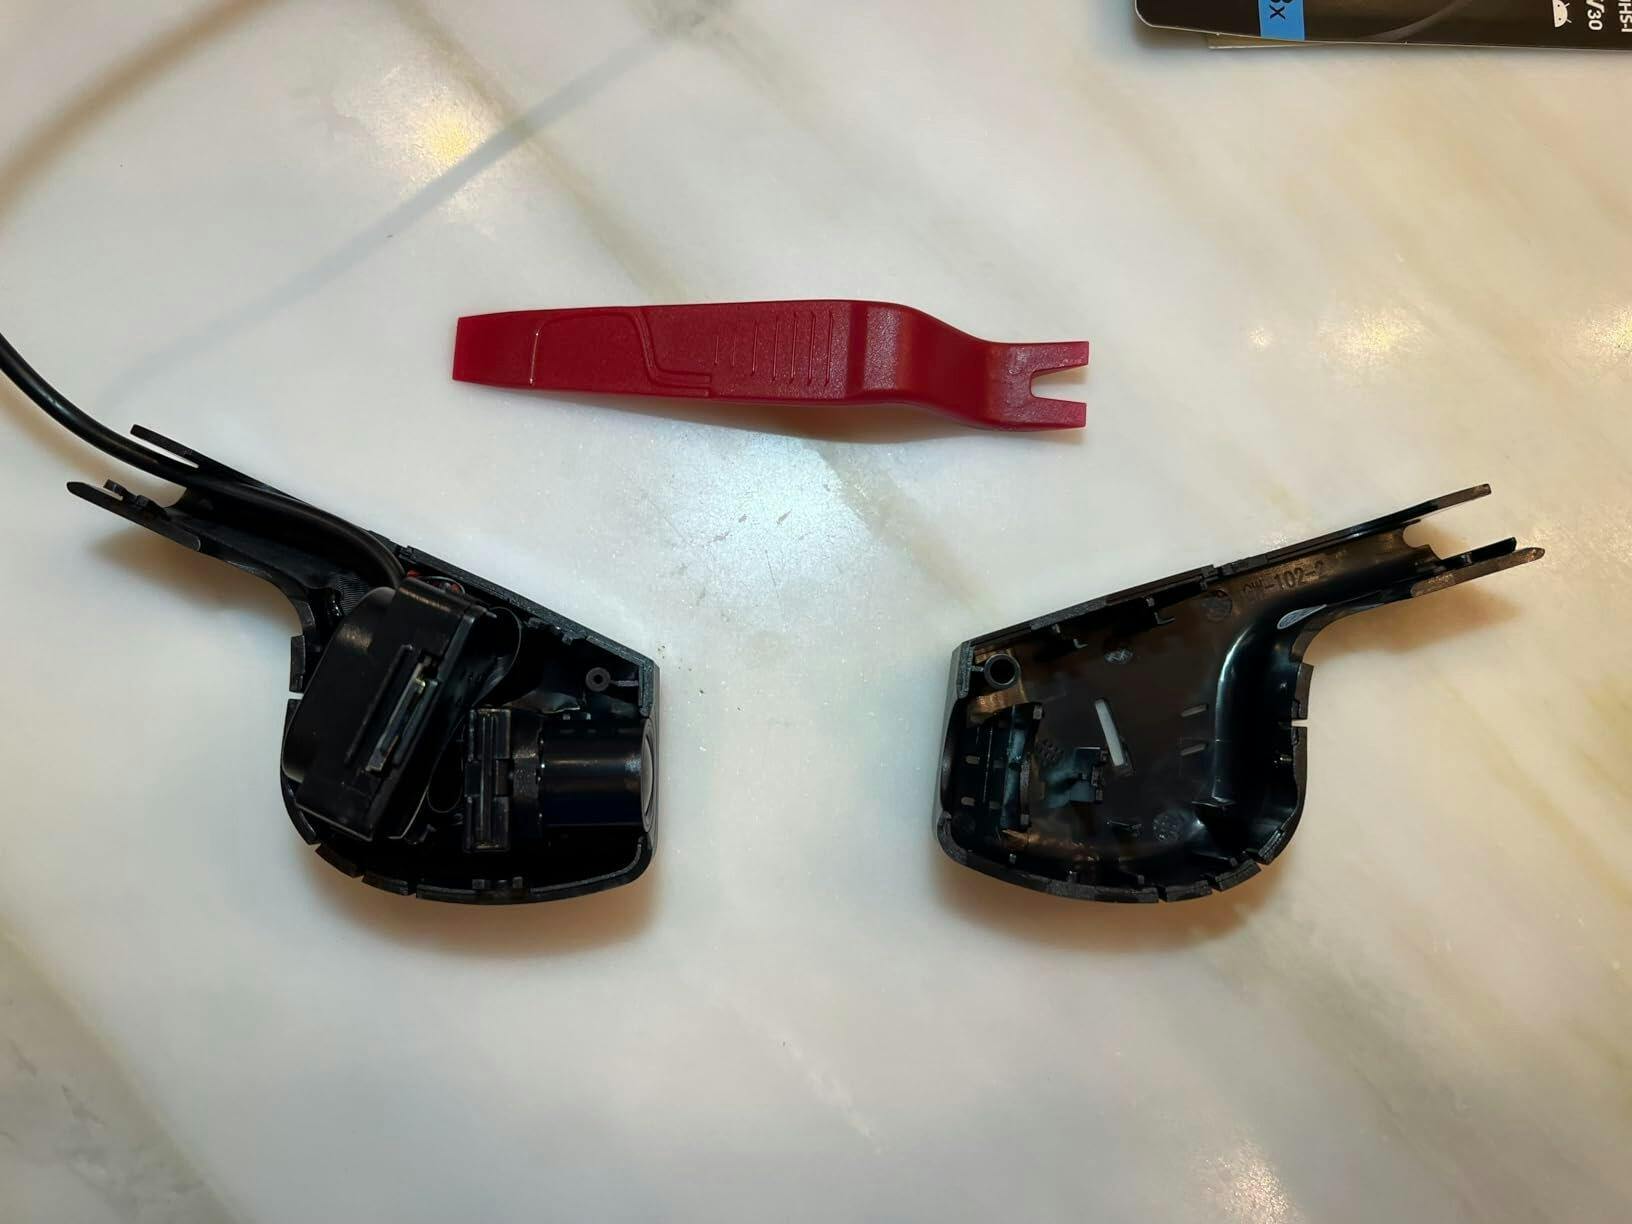
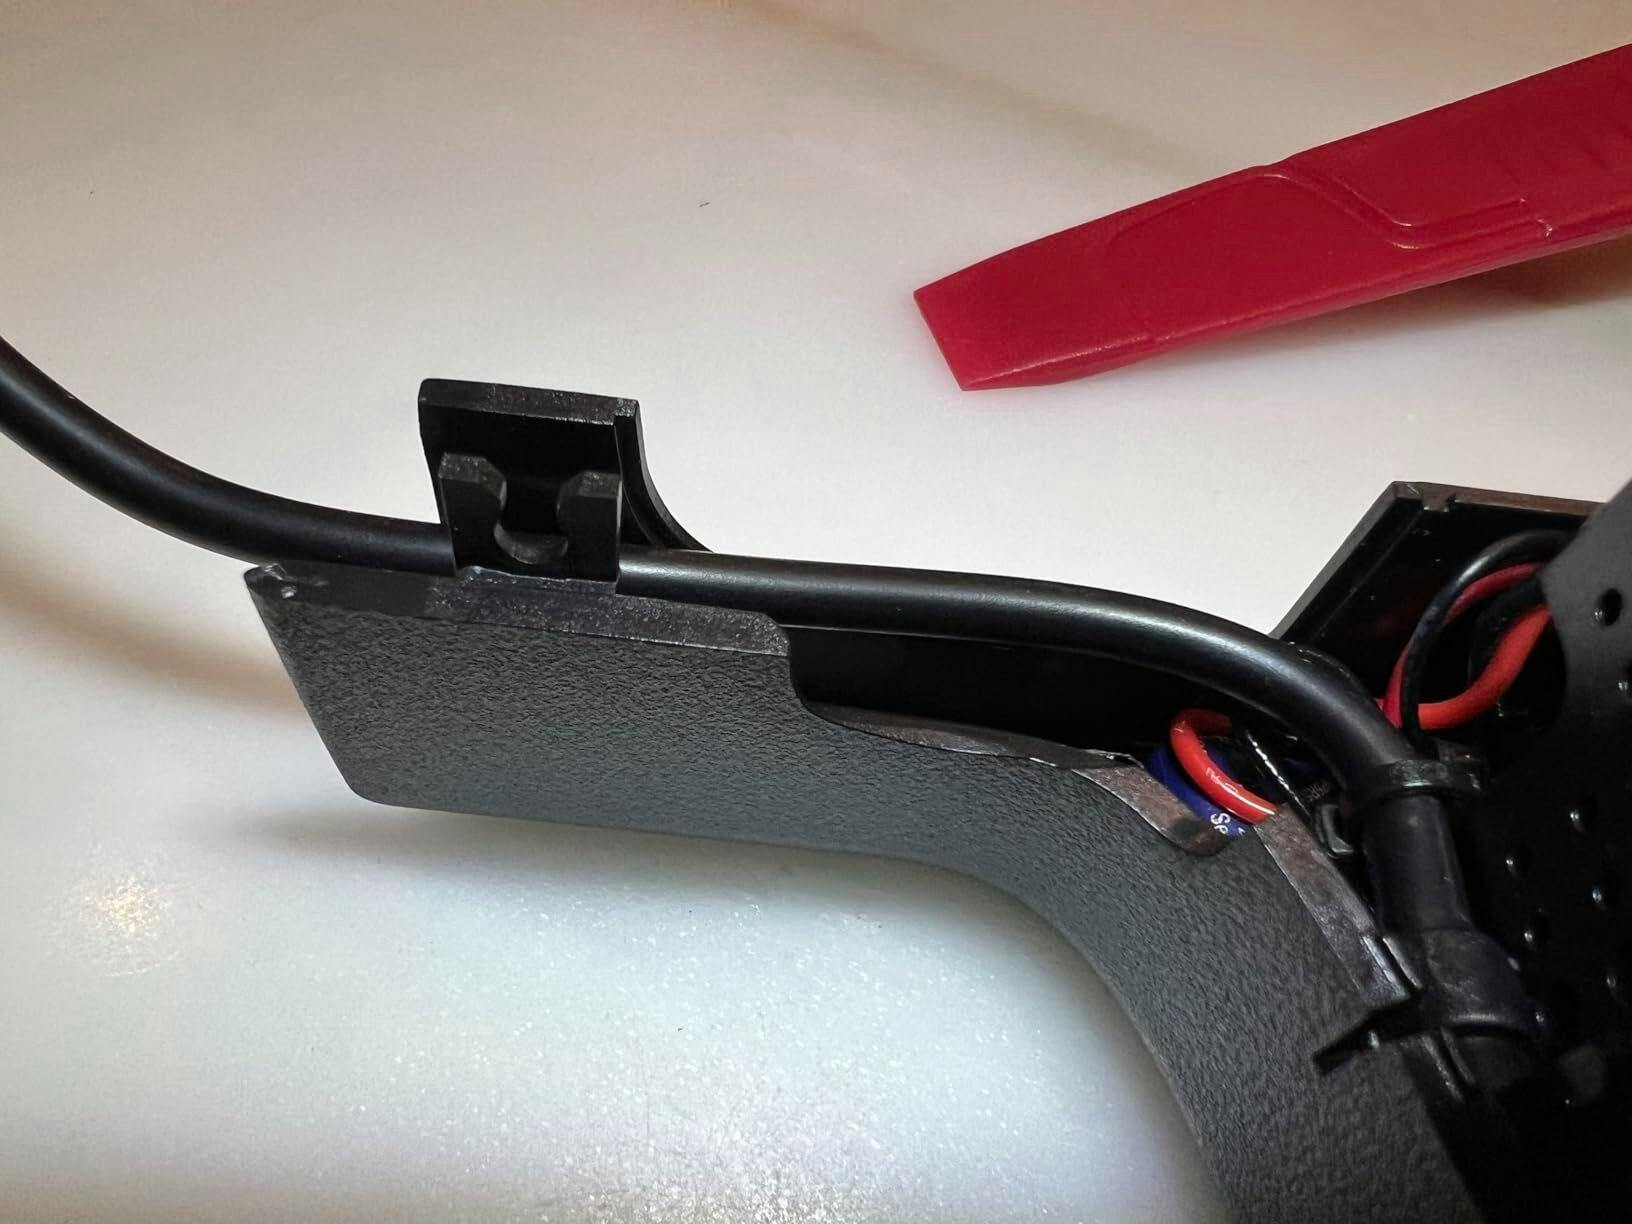
Graphic Installation Guide
-

Simply connect the cable to the front camera, route it along the headliner to the rear window, and then just stick it on (follow the arrow) and adjust the angle.
-

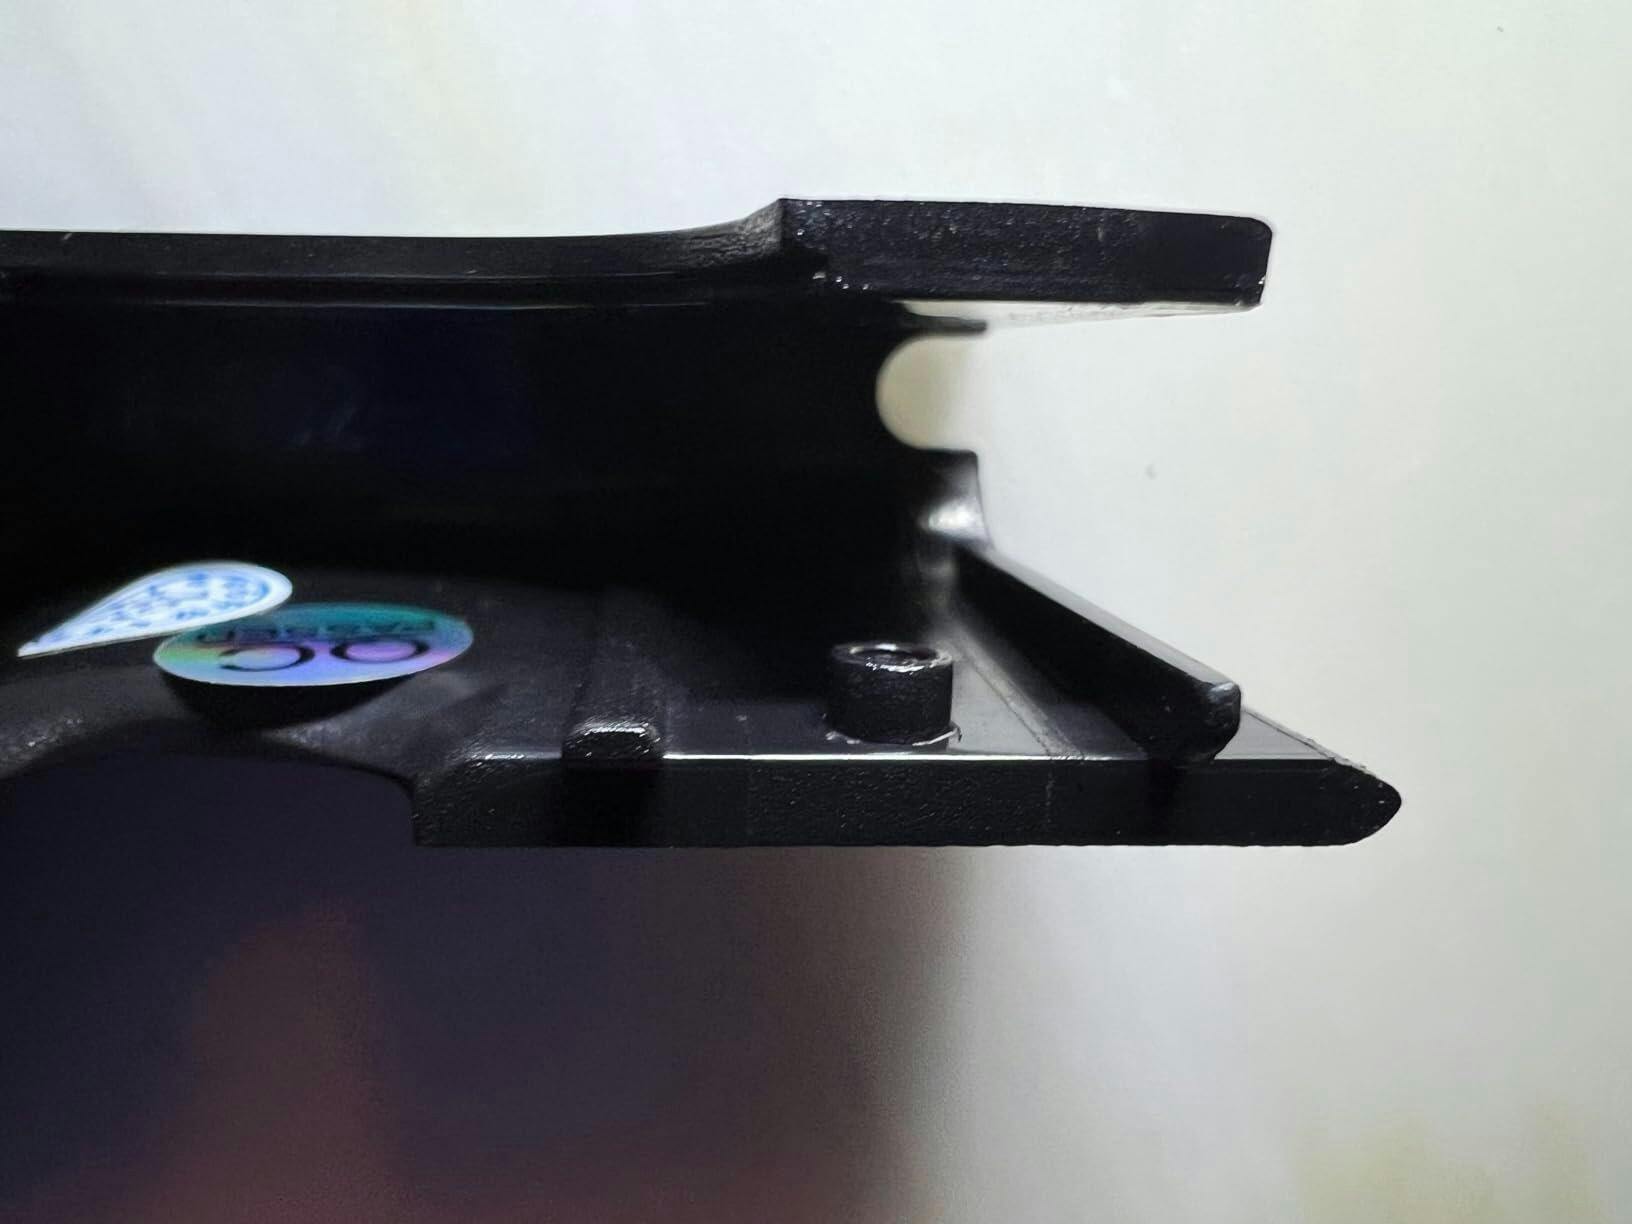
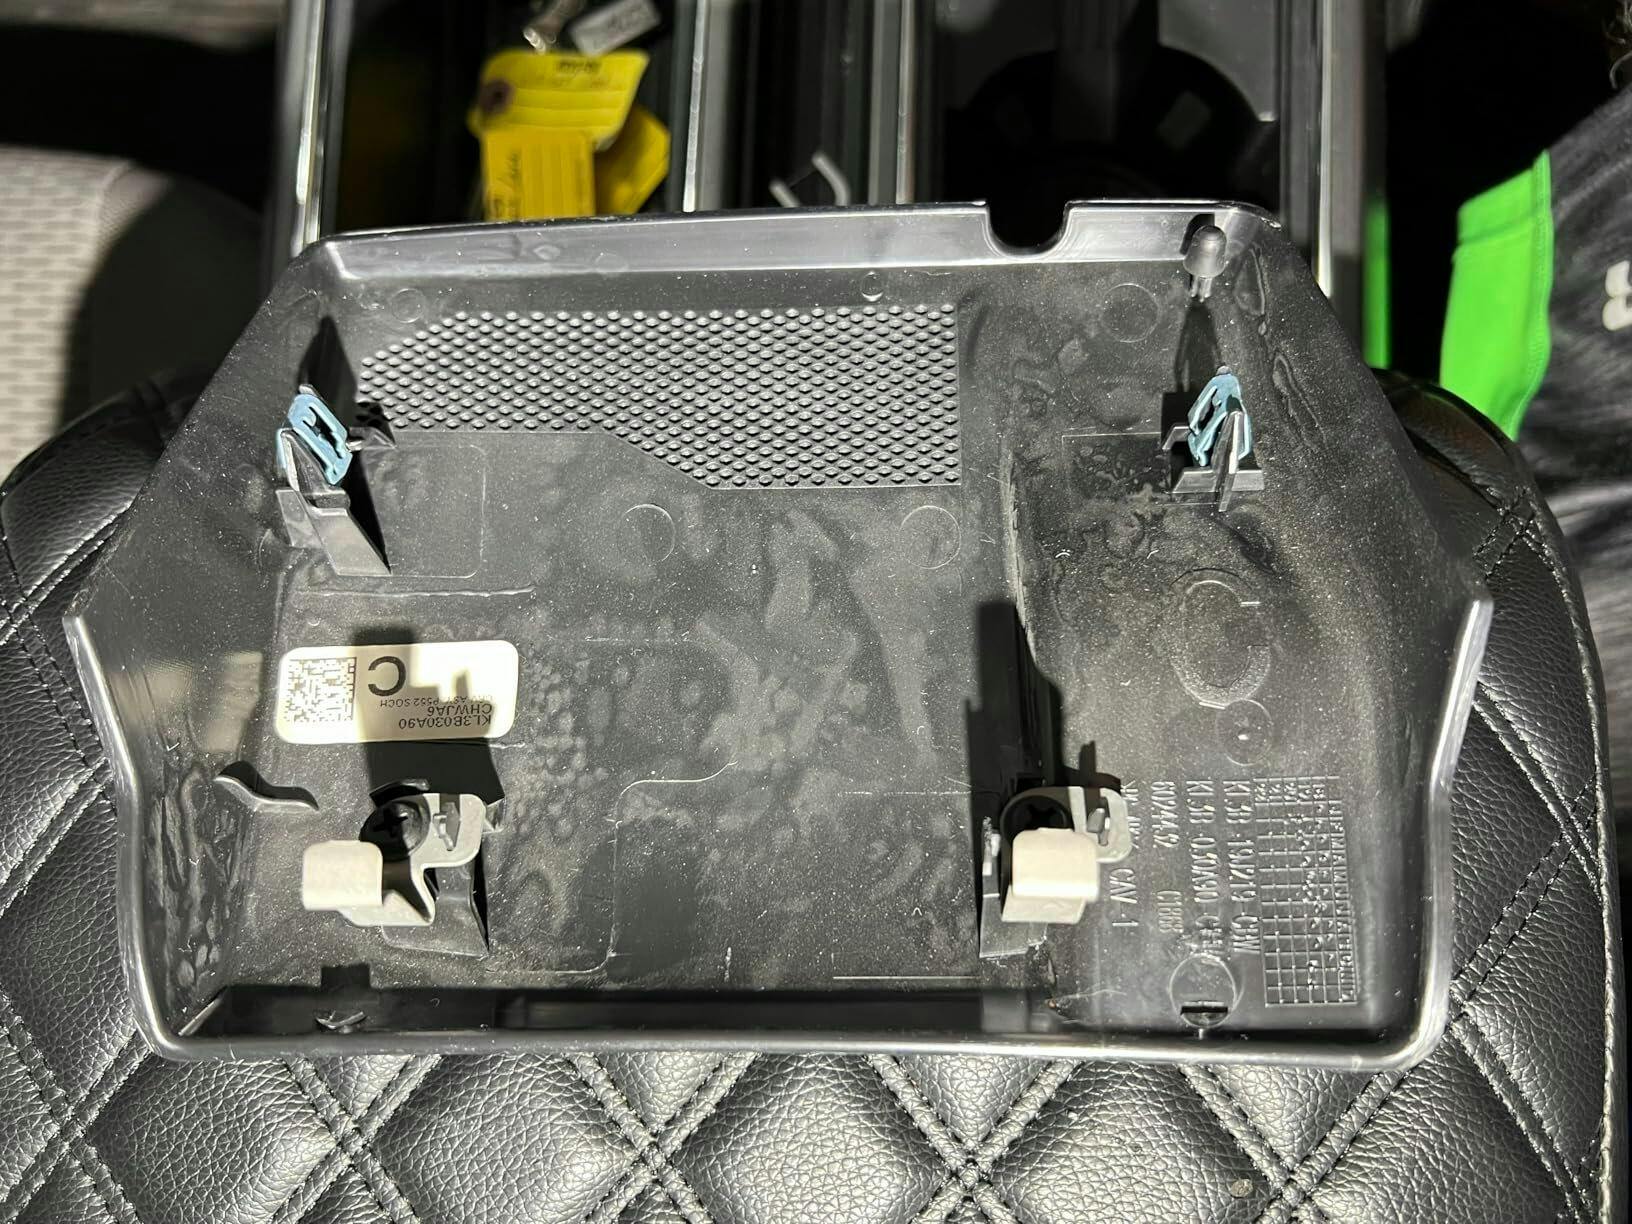
The OEM-style dash cam with a 1:1 restoration of the original rearview mirror back cover shape design, which will not block the driving line of sight.


Never Lose Critical Evidence
Drive with confidence knowing your dash cam is always watching. It continuously records in a loop (supporting cards up to 256GB) and, thanks to the collision-detecting G-Sensor, automatically saves and locks incident footage to prevent overwriting.
parking mode protection, get the dedicated "Fuse Box Cable" from our store to complete your ultimate security setup.
SPECS
| Type | 4K Single Front Cam | 4K Front and Rear |
|---|---|---|
| CPU | Novatek 96670 | Novatek 96670 |
| Front Resolution | 2160P (4K) | 2160P (4K) |
| Rear Resolution | / | 1080P(FHD) |
| Video Fixel | 8MP | Front 8MP+Rear 2MP |
| Wide Angle | Front 170° | Front 170°+ Rear 140° |
| Maximum Aperture | Front f/1.6 | Front f/1.6+ Rear f/2.0 |
| WiFi | 2.4Ghz | 2.4Ghz |
| Mobile APP | Apple iOS & Android | Apple iOS & Android |
| Front Cam Installation | No Wiring | No Wiring |
| Rear Cam Installation | / | Hard wire from the front cam |
| Parking Mode | No. (If required...) | No. (If required...) |
| Loop Recording | Yes | Yes |
| Driving Collision Sensing | Yes | Yes |
| WDR | Yes | Yes |
| Frame Rate (FPS) | 30 FPS | 30 FPS |
| Maximum supported memory card capacity | 256GB | 256GB |
| Power Input | DC 12V | DC 12V |
| Operating Temp. | -40°C ~ 70°C | -40°C ~ 70°C |
*The rear camera cannot be added separately.
When it mattered most, ClaroVue stood with them
The specs speak for themselves, but the real proof is on the road.
See for yourself what it means to have a dash cam that truly has your back

He claimed I swerved. My ClaroVue's GPS-Sync proved my lane position and speed. Insurance closed the case in 48 hours.

Despite my totaled car, the evidence was safe—thanks to ClaroVue's unbreakable backup.

Never lost GPS signal since I got ClaroVue, even underground. So impressed!